
Installing solar panels is a significant decision and one that can provide long-term benefits for your home and the environment. But before the installation crew arrives, it’s important to prepare your home to ensure that the process is as smooth and efficient as possible. This preparation can help reduce delays, avoid unexpected costs, and ensure that you get the most out of your solar system once it’s installed.
1. Evaluate Your Roof
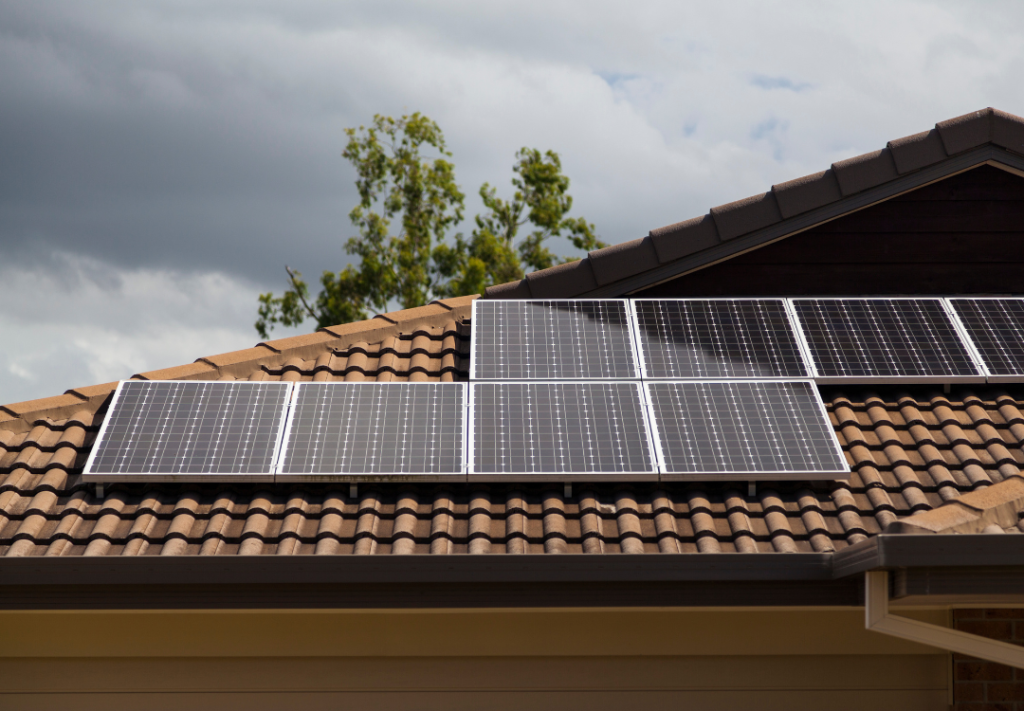
Your roof is the most crucial factor in determining whether your home is suitable for solar panels. Here are a few things to consider:
Age and Condition of the Roof: If your roof is nearing the end of its lifespan, it’s important to address repairs or replacements before installing solar panels. Typically, roofs should be replaced if they’re less than 10 years old to avoid the hassle of removing and reinstalling the panels down the line.
Roof Material: The material of your roof affects how easily panels can be installed. Asphalt shingles, metal, and tile roofs are the best candidates for solar panel installations. If your roof is made of a material like slate or clay, installation may be more complicated and costly.
Roof Size and Pitch: The available space on your roof is essential for fitting enough solar panels to meet your energy needs. A south-facing roof with minimal shading offers the best location for installation, but even roofs with limited space can still benefit from solar energy with the right system design.
2. Assess Sunlight Exposure
Solar panels need consistent sunlight to produce energy efficiently. Before installation, assess how much direct sunlight your roof receives throughout the day:
Orientation: South-facing roofs are optimal for solar energy production in the U.S. as they receive the most consistent sunlight throughout the day. East- and west-facing roofs can also work but may not be as efficient.
Shading: Trees, neighboring buildings, or other obstructions that cast shadows on your roof can reduce the effectiveness of your system. It’s important to assess whether these obstacles could affect the amount of energy your system will generate. A professional solar installer can conduct a shading analysis to determine how shading will impact your system’s performance.
Time-of-Day Coverage: The time of day your roof gets sunlight can affect your solar system’s performance. In areas with a lot of cloud cover or where sunlight is weaker in the late afternoon, you may need a larger system or battery storage to ensure continuous power.
3. Understand Your Energy Use
Before your solar panel installation, it’s crucial to know how much energy you use and when. This data will help the solar provider size the system correctly and estimate how much of your energy needs can be met with solar power.
Analyze Your Energy Bills: Look at your electricity bills for the past 6 to 12 months. The goal is to identify your average energy usage and the months when your consumption is highest. This will help you understand how much energy your system needs to generate and whether a smaller or larger solar array is necessary.
Determine Energy Peaks: Does your household use more energy in the summer when air conditioning is running, or during the winter months when heating is necessary? Knowing these peak periods will allow you to adjust your solar system to meet your highest energy demand.
Estimate System Size: Based on your usage, you can work with your installer to determine the size of the system that will meet most, if not all, of your energy needs. If you want to offset 100% of your energy usage, this will likely mean a larger array of solar panels.
4. Inspect Your Electrical System
The installation of a solar system involves your electrical system, so it’s important to check that your existing electrical panel can handle the added load.
Electrical Panel: Your electrical panel (or breaker box) needs to be able to handle the electricity generated by the solar panels. If your panel is outdated or doesn’t have enough space for new circuits, an upgrade may be necessary.
Main Service Panel: In some cases, especially in older homes, the electrical panel may need to be upgraded to handle the extra capacity needed for solar energy. This typically costs around $1,000 to $3,000, but it’s an important consideration to ensure safety and functionality.
Dedicated Solar Meter: A new meter may be needed to track the solar energy your system generates and any energy exported to the grid. This is usually included in the installation process, but it’s something to keep in mind.
5. Know the Local Permitting Requirements
Before installing solar panels, your installer will likely need to submit for permits. Permitting processes can vary widely depending on your location, but these permits are essential for ensuring the system meets local building and electrical codes.
Building Permits: A building permit will ensure that the solar system is structurally safe for your roof and complies with zoning regulations.
Electrical Permits: Your solar provider will need an electrical permit to ensure that the installation is safe and that it follows national and local code requirements.
Utility Interconnection: In many cases, your utility provider will need to approve your interconnection request. This ensures that your system can safely send power to the grid if needed.
6. Choose the Right Solar Installer
Choosing a reputable solar provider is critical to ensuring that your system is installed correctly and efficiently. Look for the following when selecting a provider:
Certifications: Ensure that your installer is certified by the North American Board of Certified Energy Practitioners (NABCEP). This certification is a mark of quality and reliability in the solar industry.
Local Experience: Choose a provider that understands local permitting requirements and the specific challenges of installing solar in your area. Local providers are more likely to be familiar with local utility providers, incentives, and challenges like weather conditions.
Warranties: Ensure that the installer offers warranties on both the panels and the installation. A good warranty can give you peace of mind knowing that any issues will be addressed without additional cost.
7. Plan for Maintenance Access
Solar panels generally require minimal maintenance, but it’s essential to ensure that you have future access for cleaning and repairs. Avoid placing objects or building structures that could block access to your system.
Conclusion
Proper preparation is key to ensuring a smooth solar panel installation process. By evaluating your roof, understanding your energy needs, and working with a trusted solar installer, you’ll be ready to take full advantage of your new solar system. At Koler Power, we guide you every step of the way to ensure that your solar system is set up for maximum efficiency and savings.